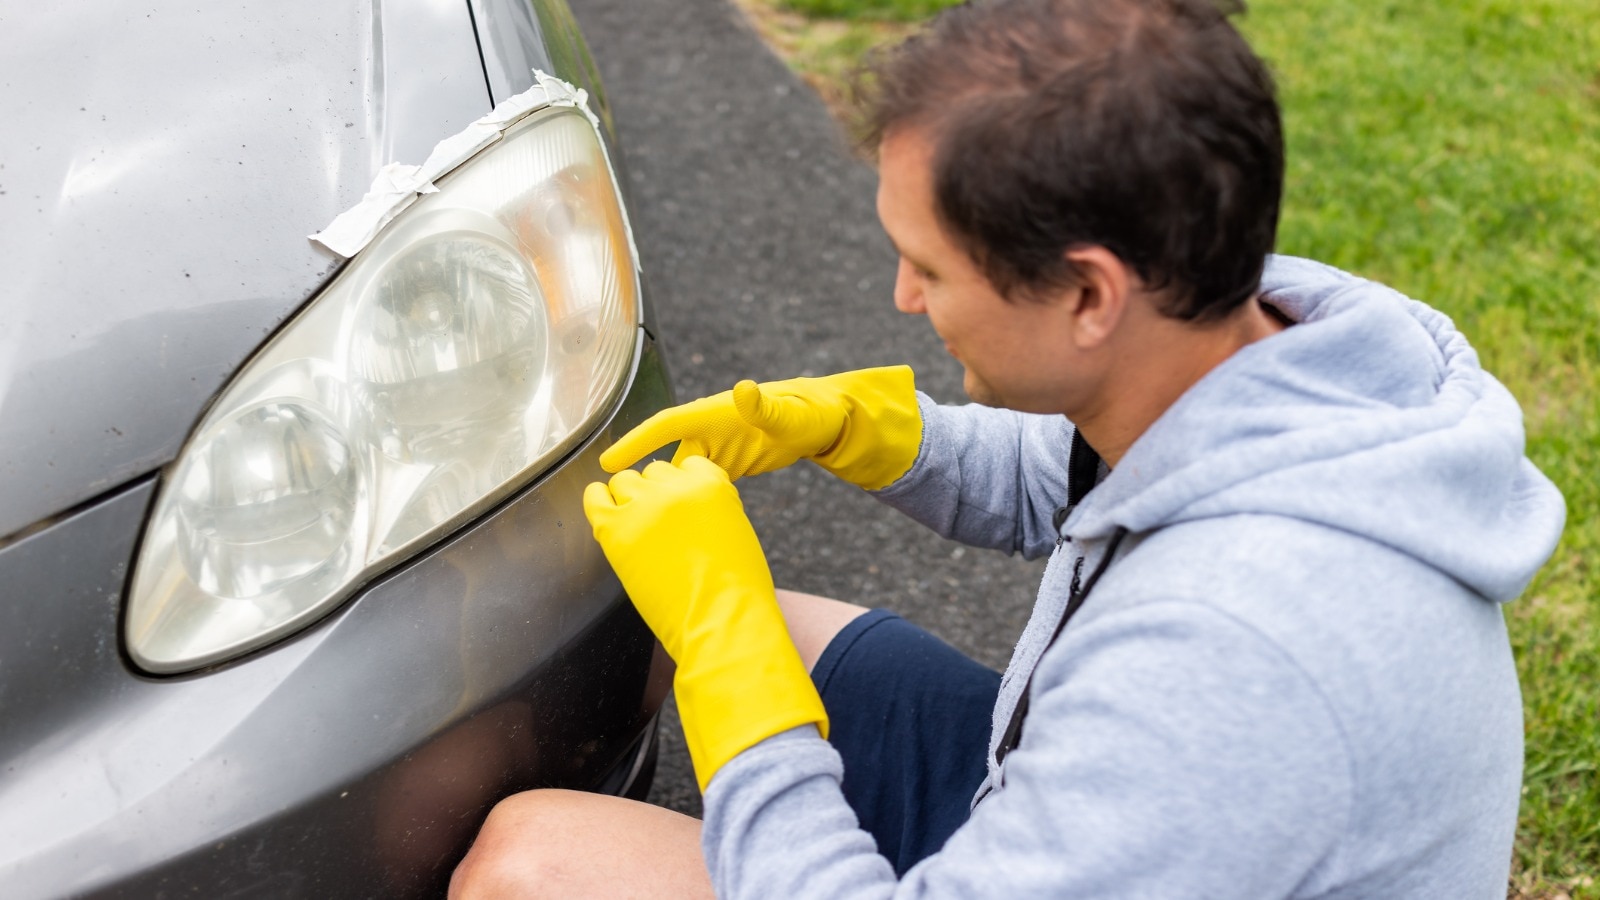
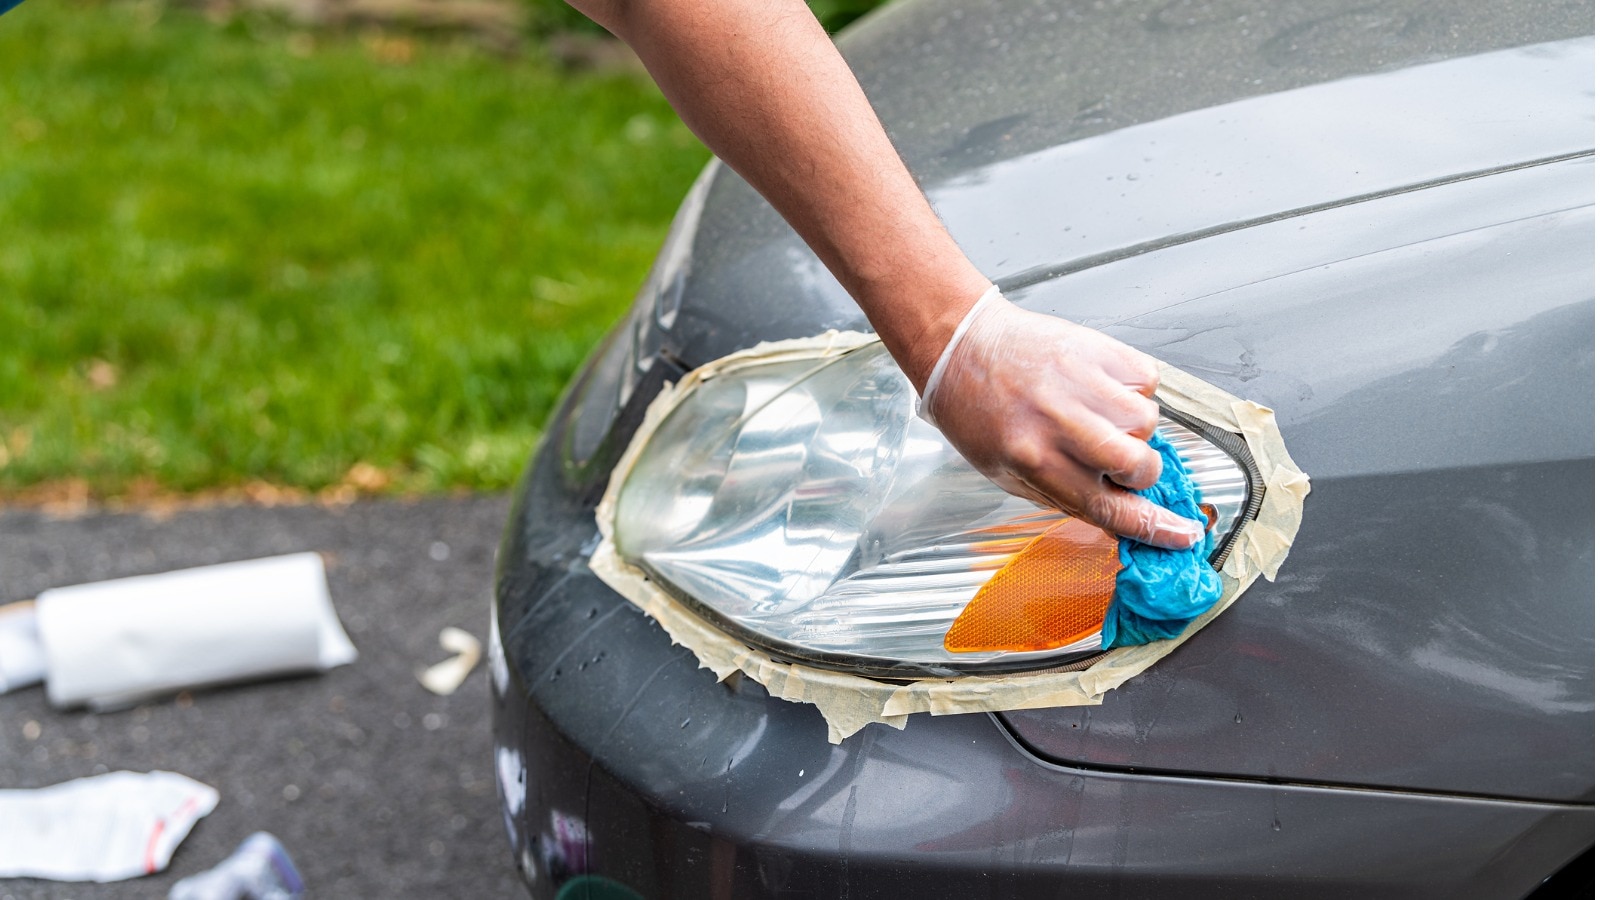
Cloudy headlights are an eyesore and a considerable safety hazard, but you can restore headlights using a cost-effective method. Headlight restoration kits from your local automotive store are a great way to improve the looks and safety of aging headlights. It’s a DIY task that you can do for a fraction of the cost of replacing the headlight lenses.
Restoring headlights is a simple job but does require some time and effort. Sanding is a must for headlight lenses with pits from road debris or heavy oxidation. You can progressively use various grades of sandpaper on the damaged headlight covers to reveal a smooth and blemish-free surface.
The next step is to apply a compound to remove the sanding scratches. Then, polishing will remove the compound haze. After the headlights look crystal clear again, you can help prevent future damage by applying a layer of UV protection.
Do the work sooner than later for better results. Plus, cars may fail safety inspections in some states if the lights are faded enough to reduce output below the legal limit.
Headlight Restoration Explained
- Headlight Restoration Kits
- Headlight Coatings and Clearcoat
- Headlight Protection Film
- Headlight Restoration Instructions and Tips
Headlight Restoration Kits
Depending on the kit, you can complete headlight restoration by hand, or you may need power tools for some steps. Using a power drill or polisher has advantages in saving time. For instance, it might take many hours to hand sand and polish severely faded headlights to their former glory.
Headlight restoration kits designed to work with power tools will reduce the time needed to finish the job. And using power tools generally will provide better results during your next car detailing project.
One of the most significant shortfalls of headlight restoration kits is the UV protection product included in the package. Car waxes and paint sealants aren’t up to significantly protecting the headlights long-term. They also require frequent reapplication for better results. However, some headlight restoration kits include a ceramic coating that will last much longer than waxes and sealants.
An inexpensive but crucial item that all headlight restoration kits neglect is masking tape. Taping off the paint surrounding the headlights helps prevent accidental damage that may be permanent in some cases. Masking the headlights is even more critical when using power tools since one slip can damage the surrounding paint instantly.
RELATED STORIES: Should I Clean My Car Before Trading or Selling It?
Headlight Coatings and Clearcoat
After restoring the headlights, protect them with a UV-resistant coating. Ceramic coatings are still relatively new to the market compared to carnauba waxes and paint sealants, but they are rapidly gaining popularity. While traditional protectants are effective for a few weeks or months, a ceramic coating will provide years of protection from the elements. When shopping for a ceramic coating to apply to headlights, look for those formulated for plastic to ensure the best results.
Clearcoat is even better than ceramic coating in terms of protection for headlights – it’s what protects them when they’re new. If clearcoat is so good at protecting headlights from damage, why don’t headlight restoration kits include it? Well, clearcoat application isn’t a task for the ordinary consumer. Applying clearcoat to refinished headlights requires a fair amount of skill to do well. It also takes a lot of prep work.
After sanding the headlights, a technician must mask the engine compartment and the car’s front end with protective plastic or paper. Any unmasked areas may be contaminated with paint overspray, requiring a clay bar to remove. In addition to the risk of overspray, applying the clear coat too heavily is easy, resulting in a textured surface known as “orange peel” or, even worse, paint runs.
Headlight Protection Film
Headlight protection film offers the highest level of protection from road debris and UV damage. The film resists impact damage from rocks and other debris hitting the headlights while driving. The material might even prevent the headlight lens from breaking in extreme cases. Replacing busted headlights on modern cars can cost thousands of dollars.
For best results, apply protection film when a car is new. Following a headlight restoration is also a good time for application.
Some headlight protection film comes in tinted shades or colors to modify the appearance of a car. Tinted headlights may look fabulous during the day, but they can create a safety issue at night. The tint reduces the amount of light output and makes nighttime driving more hazardous. In some states, headlight tinting is illegal regardless of the visible light transmission. Other states allow tinting within the minimum light output levels.
Unlike tinted headlight film, yellow headlight film has some functional benefits in certain driving conditions. Yellow headlights – yellow fog lights, in particular – can help improve visibility during foul weather. Yellow light cuts through the fog, rain, and snow more effectively thanks to its longer wavelength.
RELATED STORIES: How Much Does It Cost to Detail a Car?
Headlight Restoration Instructions and Tips
If headlights have noticeable oxidation buildup, 800-grit sandpaper is a good starting point. In extreme cases, cloudy headlights may require 600-grit or 400-grit sandpaper to remove deep pitting or heavy oxidation. Dry sanding the headlights with rougher grits allows for faster material removal.
After the headlights have been sanded smooth, it is time to start the process of wet sanding. Use sandpaper with grit ratings between 1,000 and 5,000 for wet sanding. The fine grit refines the surface instead of removing large amounts of material.
It is good to use a padded sanding block when sanding by hand. This method helps evenly distribute pressure along the contours and curves of the headlight. Using light pressure is essential to prevent deep scratches. When sanding, always use horizontal movement to minimize any marks from the previous steps. Continuous grooves are less noticeable than if they are in a crosshatch pattern.
When using a power drill or buffer for sanding, frequently stop to check the results. A minute of machine sanding would easily take a few minutes to achieve the same results by hand. If the machine has variable speed adjustment, the lowest speeds are best suited for sanding. Higher speeds work well for polishing.
Headlight Restoration Step-by-Step Instructions
- Clean the headlights and surrounding areas to remove loose dirt and debris.
- Tape off the paint or plastic around the headlights using automotive masking tape.
- Dry sand the headlights using the lowest grit sandpaper.
- Wet sand the headlights using the next highest grit sandpaper.
- Wipe down the headlights with water and a microfiber towel to remove contamination.
- Repeat the previous two steps multiple times until using the highest grit sandpaper.
- Apply compound to a heavy cut buffing pad to remove sanding marks.
- Wipe down the headlights with water and a microfiber towel to remove contamination.
- Apply polish to a medium-cut buffing pad to remove compounding haze.
- Wipe down the headlights with 20%-30% isopropyl alcohol to remove polishing oils.
- Apply car wax, paint sealant, or ceramic plastic coating to the headlights.
- Perform a hand car wash to remove any sanding slurry or polish sling accumulated on the car’s surrounding panels.


Walmart will do this for you and at a good price.